Yield: 35-40 pieces of heaven
Prep Time: hours (depending on your skill)
Cook Time: hour(s) (depending on your equipment)
Total Time: It took me a better part of a Saturday
Ingredients:
Caramels
1 1/2 cups white sugar
1/2 cup brown sugar
396g (1 small can) sweetened condensed milk
4 Tbls butter + some for the baking pan
1 tsp vanilla
Shortbreads
227g (2 sticks) butter, room temperature
115g (1/2 cup) sugar
250g (2 cups) all-purpose flour
1/4 tsp baking powder
1/2 tsp salt
1/2 tsp vanilla extract
2 Tbls milk
Topping
225g (3 cups) shredded unsweetened coconut, toasted
425g soft caramels
1/4 tsp salt
3 Tbls milk
226g semisweet chocolate
Directions:
Step 1 – make the caramels
Apply a thin layer of butter to the inside of an 8-inch square baking pan, and set the pan aside.
Combine the sugars, sweetened condensed milk and butter in a large saucepan.
Cook the mixture over low heat, while stirring constantly, until it reaches 246 degrees (if you do not have a candy thermometer like me you can follow the testing instructions on the Exploratorium website to cook it to the “soft ball stage” http://www.exploratorium.edu/cooking/candy/sugar-stages.html). Be careful to avoid over-cooking your caramels, and burning yourself – this stuff is hot hot hot!
Remove the pan from the heat, and immediately stir in the vanilla.
Pour the hot caramel mixture into the buttered pan.
Let it cool to room temperature before cutting it with a sharp knife for use or eating.

This recipe makes a bit more than is needed for the Somoas so I used some wax paper to wrap up the extra pieces for eating later.

Step 2 – The Shortbread Story
Cream together your butter and sugar with a mixer until light and fluffy.
In a separate bowl, whisk together the flour, baking powder, and salt. Slowly add this to the butter mixture and mix until just incorporated.
Finally, at low speed, add in the milk and vanilla.
Separate the dough into halves, wrap in plastic or Tupperware and refrigerate until the dough is as firm as a stick of butter. (you can toast the coconut in step 3 - making the topping, while your dough is refrigerating).
Preheat your oven to 180C (350F) and line two baking sheets with parchment.
Roll out the cooled dough on a floured surface.

Once your dough is rolled to about 1/8" - 1/4" thickness, use a cookie cutter to cut out whatever shapes your heart desires. I used a cup with a bottle cap to shoot for the original Somoa ring shape. Re-roll the scraps and repeat until all dough is cut.
Bake your batches of cookies one sheet at a time for 10-12 minutes, rotating the cookie sheet halfway through baking to ensure even cooking. Cookies should be brown around the edges when they are done.
Cool your cookies on the sheet for about 5 minutes, and transfer to a wire rack.
Let cookie sheets cool between batches to get the right consistency.

Step 3 – Make the Topping
Preheat your oven to 180C (350F).
Toast the shredded coconut on a baking sheet for about 10-15 minutes, stirring frequently. Let cool while shaping and baking cookies.
(after your shortbreads are cooked and cooled)
In a saucepan, melt your caramels over low heat, with the salt and half of the milk stirring constantly.
Stir the toasted coconut into the caramel mixture. You can add the rest of the milk (more if needed, depending on your caramel) to get the right consistency of your topping. It should be malleable enough to easily spread over the top of your shortbreads
Step 4 – Top ‘em Up!
Set out your shortbreads on waxed paper. Using a knife, a pair of spoons, an offset spatula, or whatever works best for you to spread a generous amount of the caramel mixture on each of your cookies.

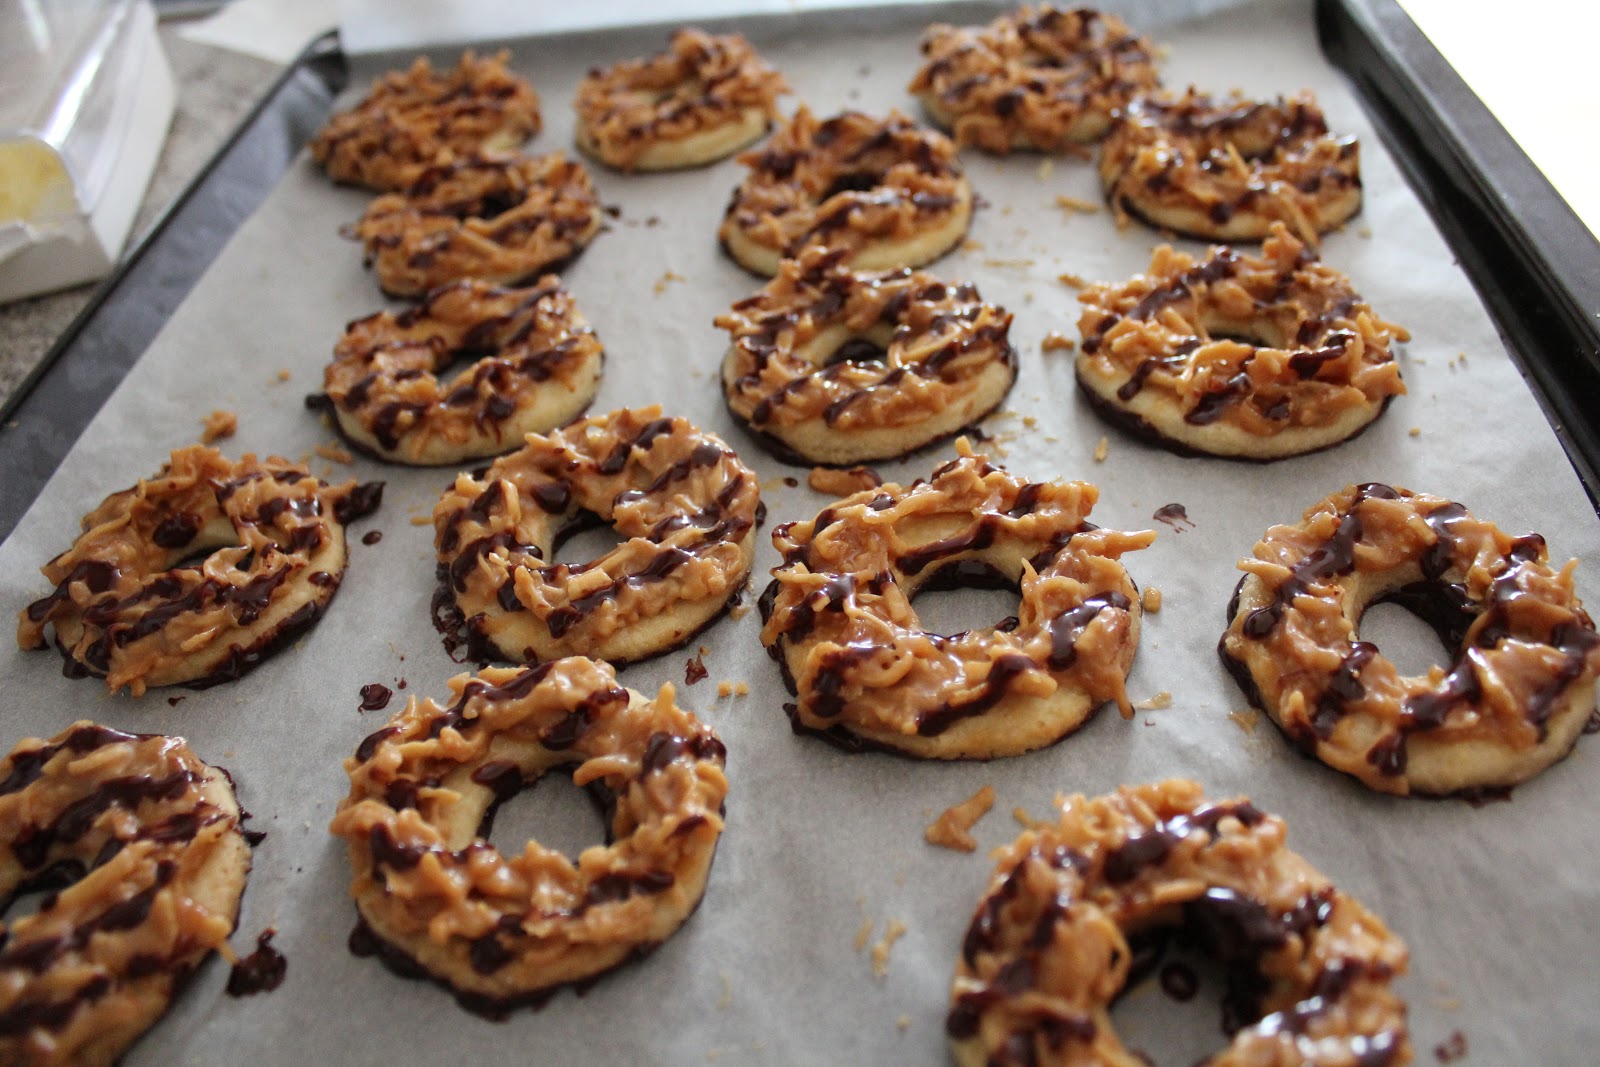
Step 5 – The Final Touch of Chocolaty Chocolateness
Break up the chocolate into small pieces, put them in a saucepan and heat on low, stirring constantly, until it is all thoroughly melted.
Dip the bottoms of your cookies into the chocolate or use a pastry brush to coat the bottom of each cookie, and then place them back on the waxed paper. I found that my cookies that had a very thin coating of chocolate on the bottom were the tastiest – a thick layer of chocolate overpowers the rest of the flavors of the cookie.
Use the remaining melted chocolate to drizzle over top of the cookies once they're all dipped. A spoon works for this, but a piping bag or the corner snipped off a plastic baggie makes 'em prettier.
That's it! If you don’t eat all of them right away, you can store them in an air tight container for later indulgence.

Caramels recipe adapted from The Victory Cookbook, Somoas adapated from Instructables.


